Showing posts with label abstract. Show all posts

Wednesday, July 03, 2013

Abstract Fireworks Nails

Wednesday, July 03, 2013
Happy Canada Day (I know I'm a bit late!) and Fourth of July!

Well, I attempted some nail art that is supposed to look like fireworks, and while they don't really look that much like fireworks, I actually quite like the outcome.  I think they turned out a bit more abstract than I was imagining though, so I guess that's what I'll call them!


Here's a basic run down of what went into creating this look, for those who would like to know:

First, I painted my nails with one coat of a-England Lancelot, a gorgeous nearly black red creme.  Then, I sponged on a bit of Essence Jacob's Protection (in a few spots) for a hint of blue shimmer.  I then sponged on Nails Inc. Stratford and Finger Paints Hollydazzle in circular shapes, and made a whole bunch of random exploding dots (with a dotting tool) using CND Brilliant White and Layla Ocean Rush.  I finished the look with my beloved Northern Lights top coat, of course.

Layla Ocean Rush, Nails Inc. Stratford, Finger Paints Hollydazzle, CND Brilliant White, Essence Jacob's Protection, and a-England Lancelot
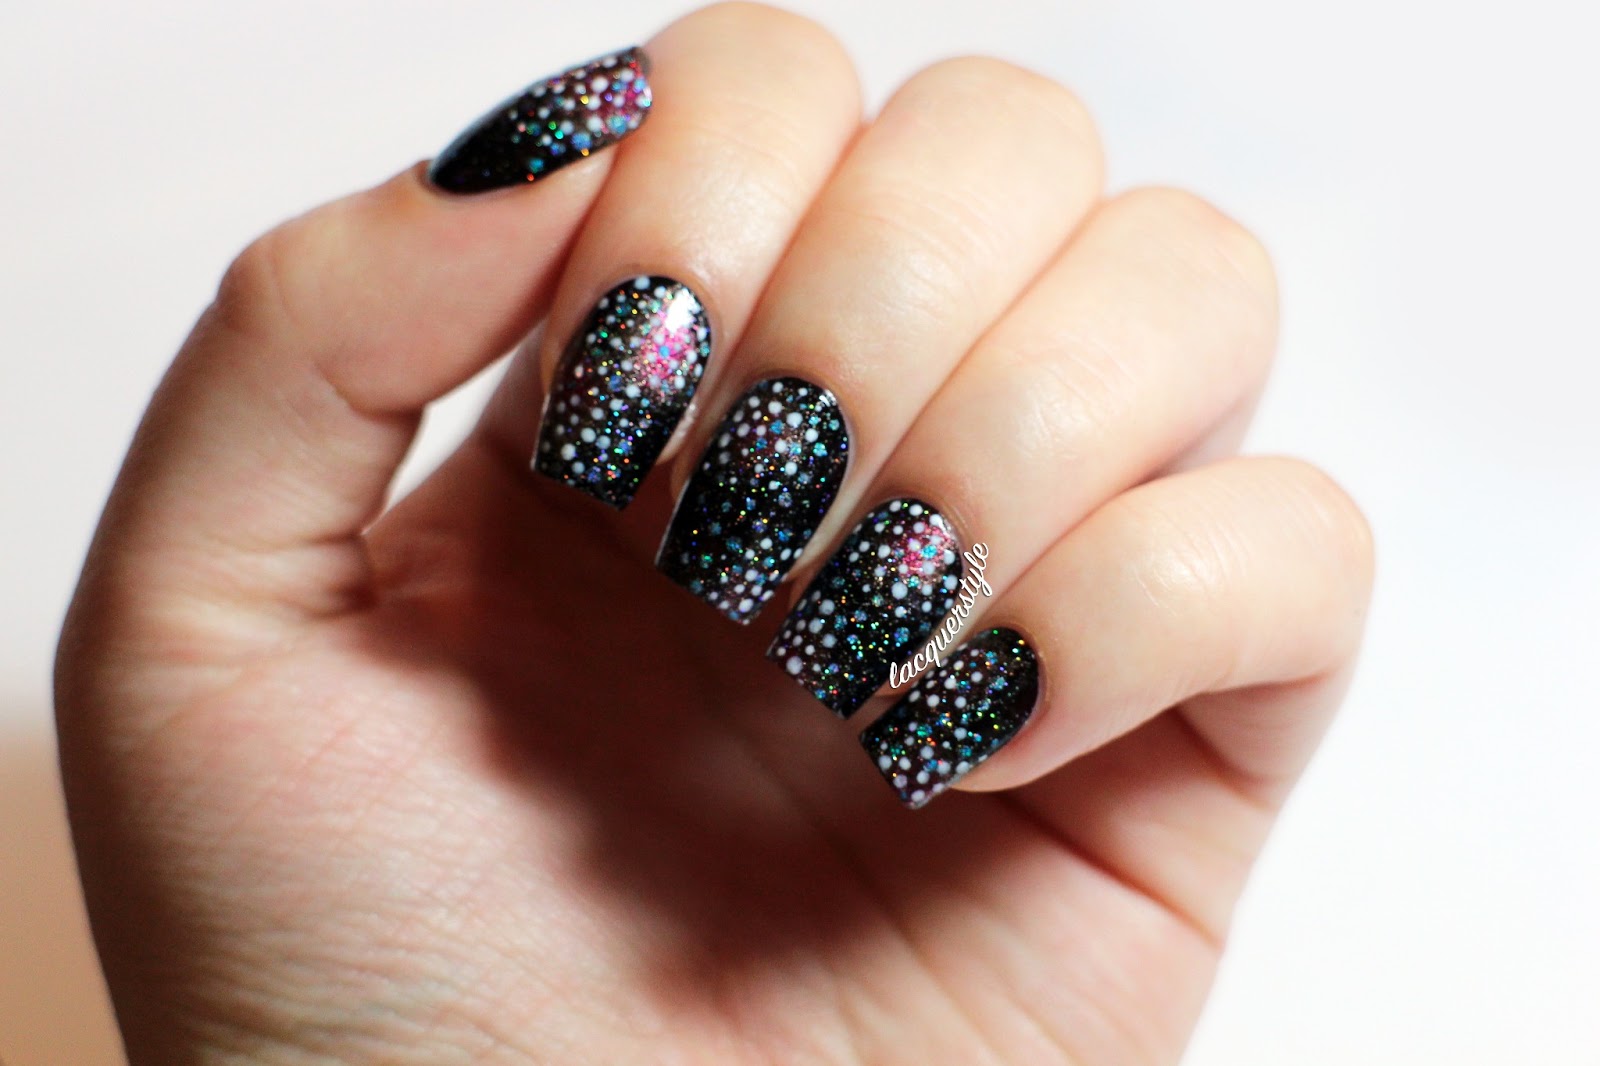
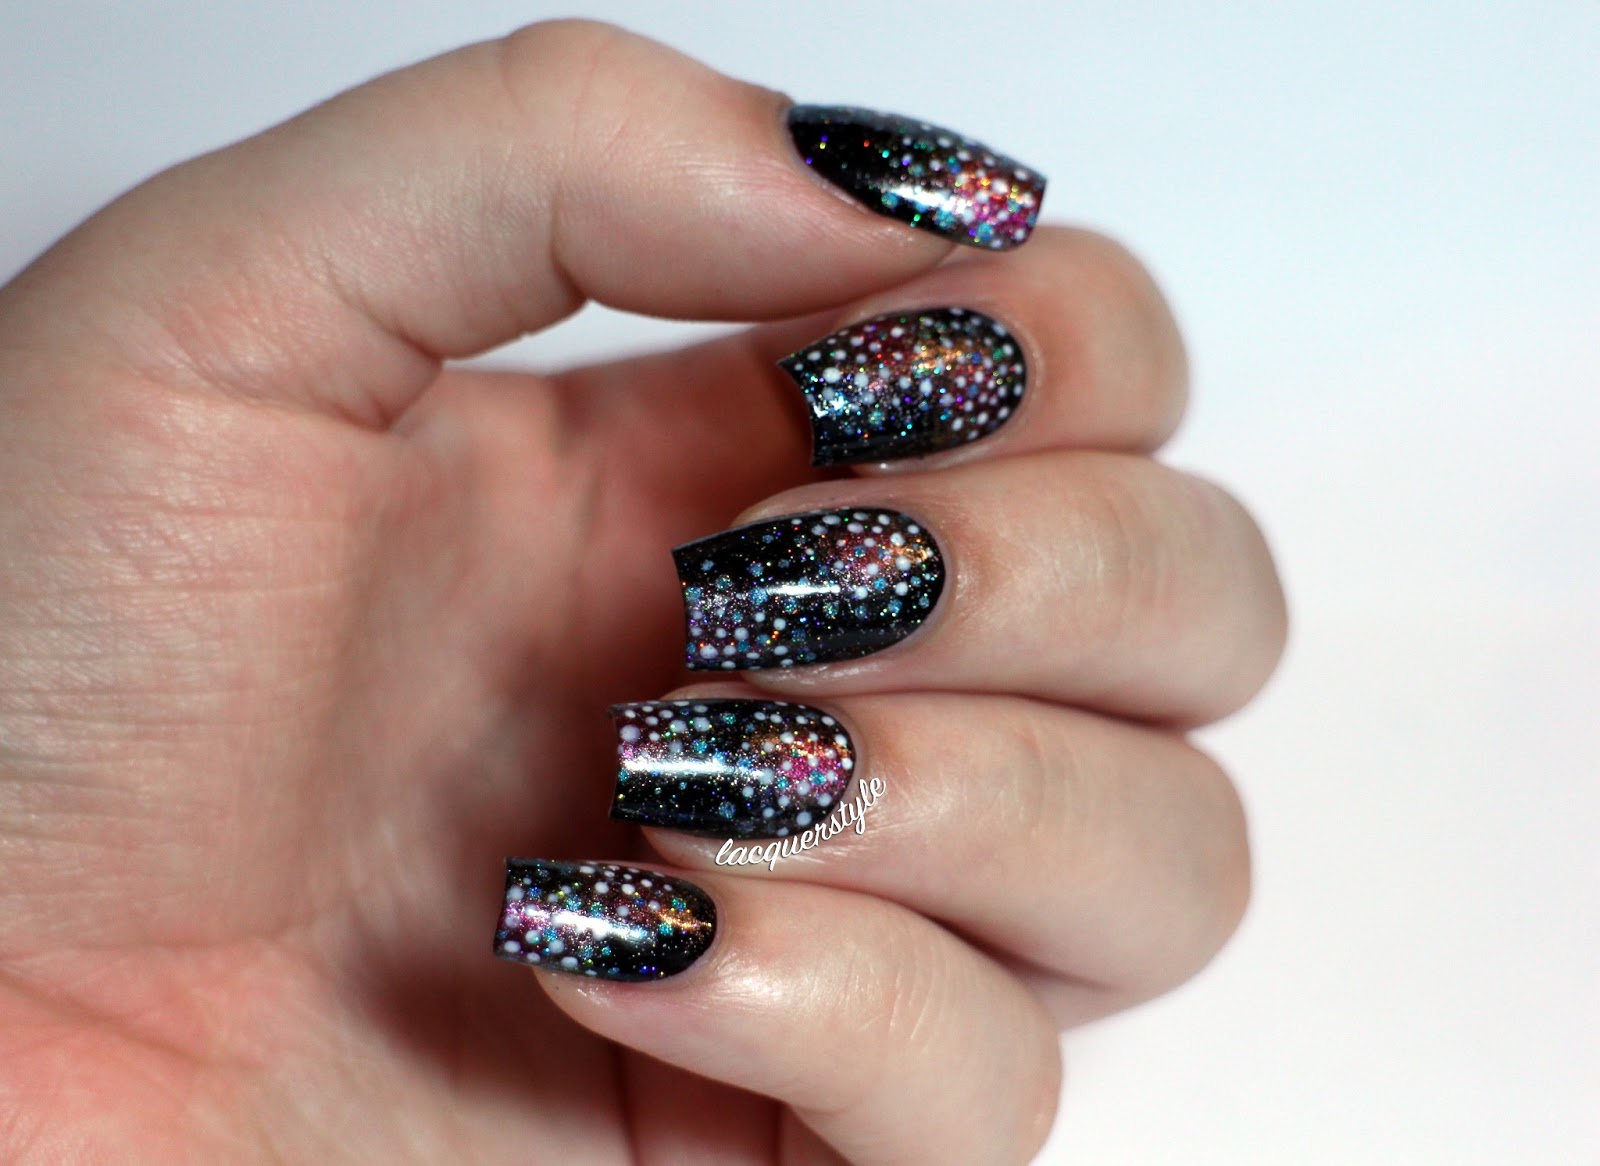
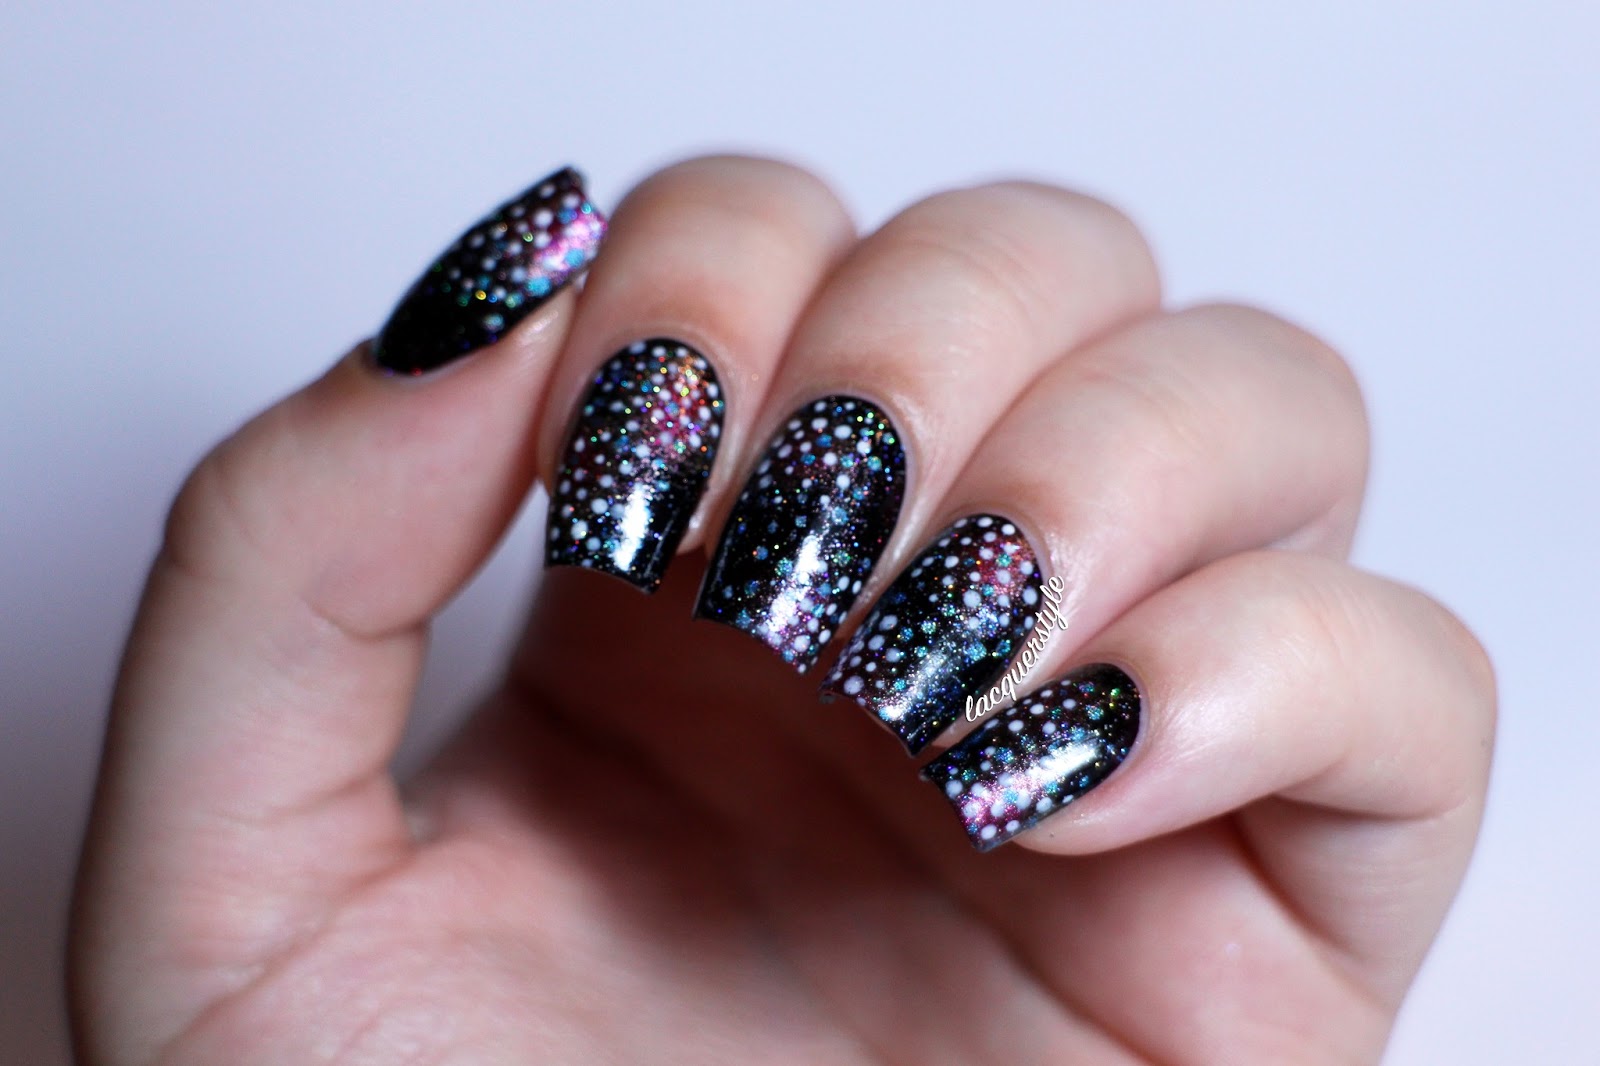


Let me know what you thought of this look, and if you have any fun nail art planned for your your Fourth of July festivities!  Or, what nails you wore for Canada Day, if you're a fellow Canadian. :)

Have a lovely day!


Kristin


Friday, June 07, 2013

Abstract Neon Tape Mani + Tutorial!

Friday, June 07, 2013
Hi everyone!

I am so excited to finally have a website where I can post all of my photos and ideas!  It's been a long time coming.  If you know me from Instagram, I've been posting all my nail polish obsessions over there for a while now.  I can't wait to share more of my work and tutorials for all of you to enjoy!


My first post is a look I just did as a collaboration with another nail artist on Instagram.  We came up with the idea to create some "abstract" nails, and I've been on a neon kick lately so that is how the idea came about!  I am so happy with how they turned out.  They were so quick and easy to do, and so much fun for summer!  I have had quite a few requests to create a tutorial, so I've included one down below!

Here is the finished look:


And, onto the tutorial! 

(Btw, if you have any questions or comments, please leave me a comment or send me an email!  I would absolutely love to see your results as well, so feel free to tag me on Instagram, or email me your work!)


1. Gather your supplies and prep your nails. I used a-England The Knight (basecoat), Essie Blanc, a neon green, neon pink, and neon blue by Color Club (this look would be amazing with pastels, or monochromatic color schemes though!), Scotch tape, a cosmetic sponge, scissors, and tweezers. 

2. Paint two coats of your base color. I used a white base so the lines would pop amongst the neons. Make sure your base colour is completely dry, or use a quick dry top coat before moving to the next step. 

3. Hopefully this step won't be too confusing to explain, but this is just how I did it.  Take a piece of tape and make a small vertical cut at one of the corners.  Using tweezers, tear the tape vertically angled a bit to the right, creating a long triangular shape.  The thinner the better, though I think it looks good if they vary in size anyways!  I used four or five pieces on each nail for reference, and be sure to leave a "tail" so they are easily removed.

4. With the sponge, paint one of the corners with the first color, and sponge in a few random sections on the nail.

5. Repeat step 4 with the second color.  Overlapping a bit of the previous color without covering too much area is what you want, keeping the texture of the sponging, but also blending the colors a bit together.

6. Repeat with the third color, covering the rest of the white on the nail.

7. Remove the tape from the nails one by one.  I like to use tweezers for this step. 

8. Clean up the cuticle with some remover.  I just used a cotton swab (which I removed most of the cotton from) to make it easier. 

9. Wait a few moments, (you do not want to smudge your work!) then finish with a top coat! 

Have fun! :)


Kristin

Lacquerstyle.com © 2014