Lacquerstyle.com features unique hand painted nail art (and tutorials on how to achieve them), as well as reviews of the latest nail polish and beauty products. Written by a Certified Nail Artist / Manicurist & Blogger from Toronto, Canada.
Day 7 of the 31 Day Challenge (#31DC2013) was Black & White nails.
I am always happy to create some black & white nails, and I love coming up with different combinations. This time, I based it around another textured accent nail (can you tell I love my textured polishes?), Dance Legend Granite. It's a black textured base loaded with tiny white glitter. The white glitter has a bit of a sheen to it so it doesn't look flat. It has great coverage in one coat, but I used two for the photos.
On the remaining nails, I applied one coat of CND Blackjack, then with a ball of plastic wrap I dabbed on Essie Blanc, and finished with an outline of white around the nails. I have tried this combination a few months ago (unfortunately I never posted about it), and loved it, so I thought this was the perfect design for the Day 7 theme.
You may or may not have noticed a little YouTube button in my side bar. Well, the time has come, and I have finally uploaded my first ever video!
It is a very simple look that I have recreated per request from some of my followers on Instagram. I really loved it the first time I wore it (about 20 weeks ago according to IG!), and this time is no different. I really hope you enjoy the video, and when my new camera lens arrives hopefully I can create many more videos with a closer detailed look (floral nails, yes!).
And, here is my original look and Instagram tutorial (my nails were super long here!):
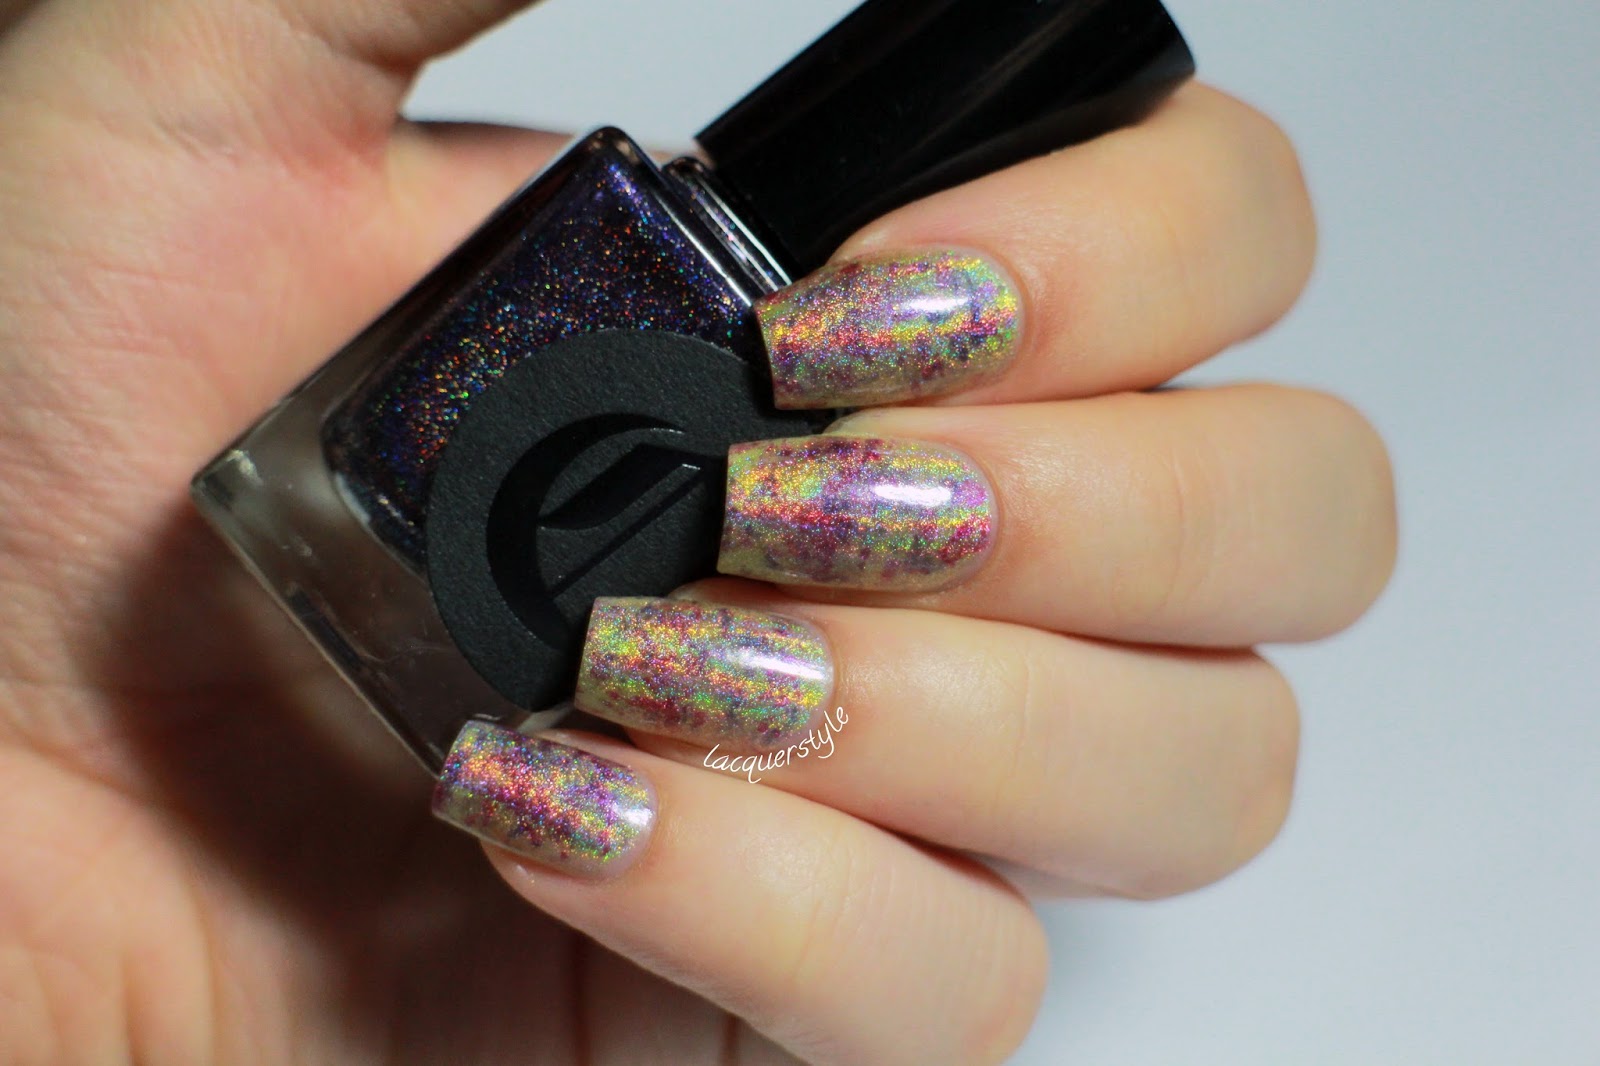
1. Gather your supplies and prep your nails. I used Nfu Oh Aqua Base, Layla Gold Idol and Purple Illusion, Cirque Fascination Street, a piece of plastic wrap (bunched into a ball), a few precision tip Q-tips, and a piece of paper.
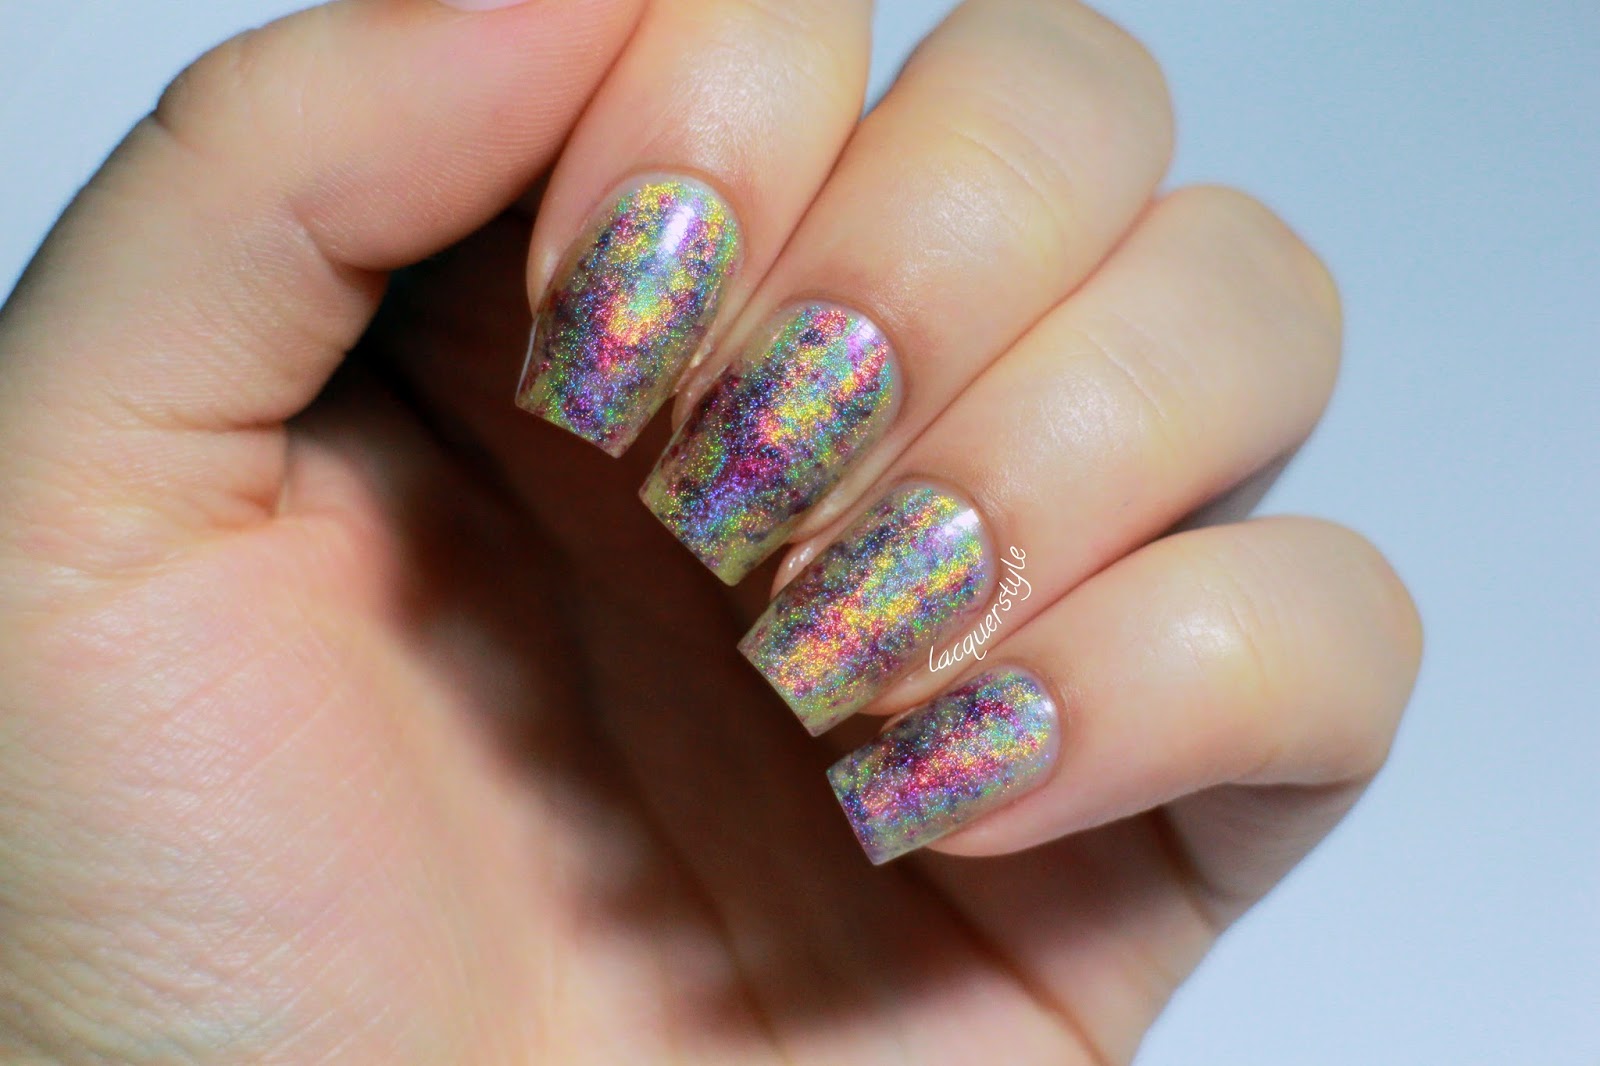
2. Paint two coats of your base colour. In this case, I chose a gold holographic polish. You can use any color combination you desire. Make sure your base color is completely dry, or use a quick dry top coat before moving to the next step.
3. Work quickly with the next few steps! Place a few drops of your first polish on a piece of paper. Dip the plastic wrap into the polish, and dab it a few times on the paper before applying it to your nails.
4. Immediately "sponge" the polish on your nails in a few random spots. Don't overdo it, or your base color won't show through. You want a nice balance of colours.
5. Repeat steps 3 and 4 as much as necessary, to achieve the desired effect.
6. If you are using a third color, repeat steps 3 and 4 in another contrasting color. I chose a darker one so that it would pop against the light base color.
7. Make sure you are happy with the effect. You may have to touch up a few spots if you feel it is not balanced enough.
8. Clean up around the cuticles with some nail polish remover.
9. Finish with a top coat.
Have fun! :)
Please let me know what other tutorials and designs you would like to see in the future!
These turquoise stone nails have been quite a trend lately. I had seen a couple people try this technique, and was inspired, but I wanted to put my own style on it.
Here is my finished look:
Now, here is the tutorial to get this look:
I tried to make the steps as clear as possible, but as always, if you have any questions please let me know. And, feel free to send me your results, I would love to see them! :)
1. Gather your supplies and prep your nails. I used CND Stickey, Essie Where's My Chauffeur?, CND Blackjack and Gold Chrome, a piece of plastic wrap (bunched into a ball), a few toothpicks, Scotch tape, hairspray, a paper towel, a cup of luke warm (tap) water, and a piece of paper.
2. Paint two coats of your base colour. In this case, to make them look like turquoise stones, I chose the Essie's Where's My Chauffeur?. Make sure your base colour is completely dry, or use a quick dry top coat before moving to the next step.
3. Tape off your cuticle and sides of your fingers with some scotch tape.
4. Work quickly with the next few steps! Place a few drops of gold polish on a piece of paper. Dip the plastic wrap into the polish, and dab it a few times on the paper before applying it to your nails.
5. Immediately "sponge" the gold polish on your nails in a few random spots. I did this very lightly, to make it look like subtle veins of gold.
6. With a cup of luke warm water, place one drop of black polish into the water. I only used one drop of polish so the black would be quite light and veiny. As it is spreading, spray some hairspray on it. This is the most difficult part, as you may have to repeat this step a few times to get it to look right.
7. I wanted the "veins" to be quite spread out on the nail. If the spots are too close together in the water, you will have too much black on the nail, so if it does not look right in the water, just take a toothpick to remove the polish and try again.
8. Quickly dip your finger into the water, positioned where you want it, and use a toothpick to grab the leftover polish on the surface of the water before removing your nail.
9. Remove the tape. Wait a while before applying top coat so you do not smudge the black lines. Finally, finish with a top coat.