Lacquerstyle.com features unique hand painted nail art (and tutorials on how to achieve them), as well as reviews of the latest nail polish and beauty products. Written by a Certified Nail Artist / Manicurist & Blogger from Toronto, Canada.
Recently, I was asked by the lovely and talented Lindsay from Nail That Accent to write a guest post for her blog. I was so excited when she asked me because not only is she a fellow Canadian, this is also my first guest blog post anywhere!
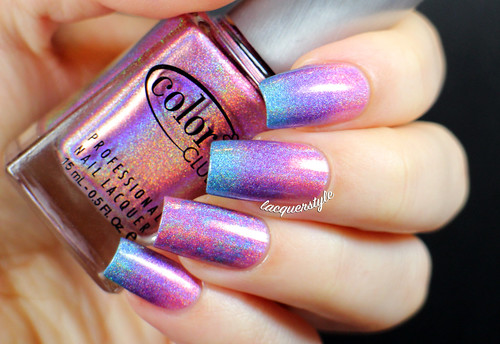
I am the first nail artist featured for her International Nail Artist Tuesday series, and I created a super fun holographic gradient with some of my favorite polishes and techniques!
Day 7 of the 31 Day Challenge (#31DC2013) was Black & White nails.
I am always happy to create some black & white nails, and I love coming up with different combinations. This time, I based it around another textured accent nail (can you tell I love my textured polishes?), Dance Legend Granite. It's a black textured base loaded with tiny white glitter. The white glitter has a bit of a sheen to it so it doesn't look flat. It has great coverage in one coat, but I used two for the photos.
On the remaining nails, I applied one coat of CND Blackjack, then with a ball of plastic wrap I dabbed on Essie Blanc, and finished with an outline of white around the nails. I have tried this combination a few months ago (unfortunately I never posted about it), and loved it, so I thought this was the perfect design for the Day 7 theme.
You may or may not have noticed a little YouTube button in my side bar. Well, the time has come, and I have finally uploaded my first ever video!
It is a very simple look that I have recreated per request from some of my followers on Instagram. I really loved it the first time I wore it (about 20 weeks ago according to IG!), and this time is no different. I really hope you enjoy the video, and when my new camera lens arrives hopefully I can create many more videos with a closer detailed look (floral nails, yes!).
And, here is my original look and Instagram tutorial (my nails were super long here!):
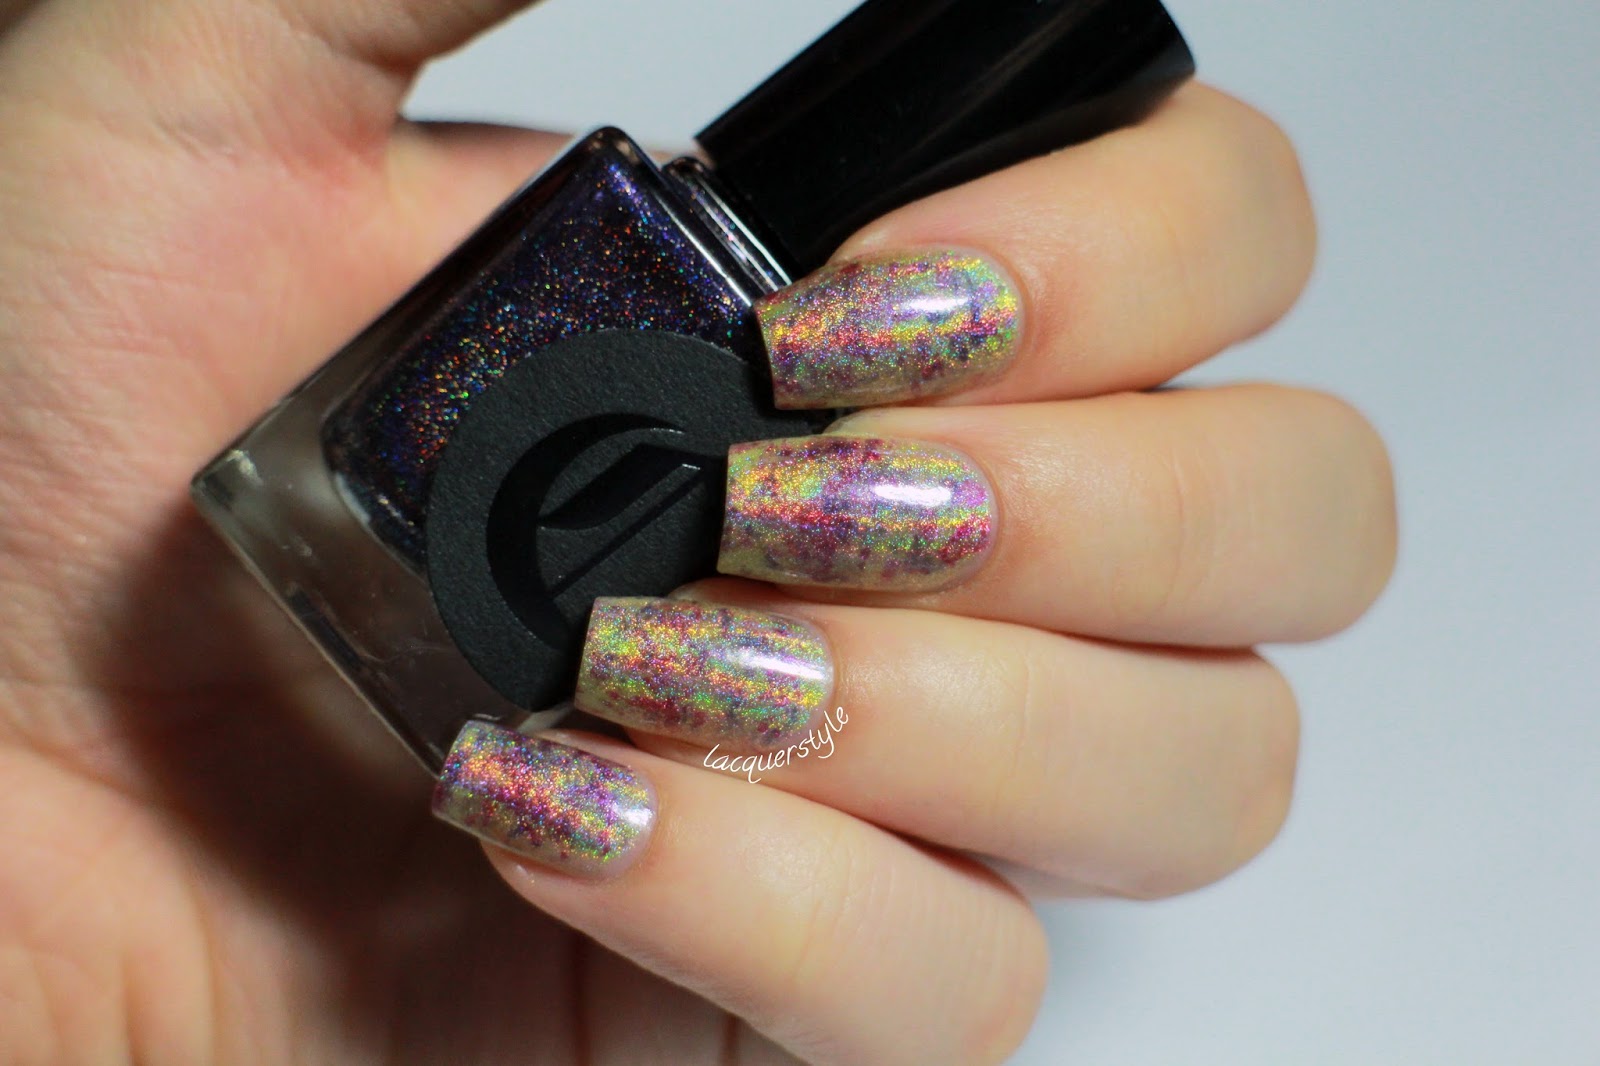
1. Gather your supplies and prep your nails. I used Nfu Oh Aqua Base, Layla Gold Idol and Purple Illusion, Cirque Fascination Street, a piece of plastic wrap (bunched into a ball), a few precision tip Q-tips, and a piece of paper.
2. Paint two coats of your base colour. In this case, I chose a gold holographic polish. You can use any color combination you desire. Make sure your base color is completely dry, or use a quick dry top coat before moving to the next step.
3. Work quickly with the next few steps! Place a few drops of your first polish on a piece of paper. Dip the plastic wrap into the polish, and dab it a few times on the paper before applying it to your nails.
4. Immediately "sponge" the polish on your nails in a few random spots. Don't overdo it, or your base color won't show through. You want a nice balance of colours.
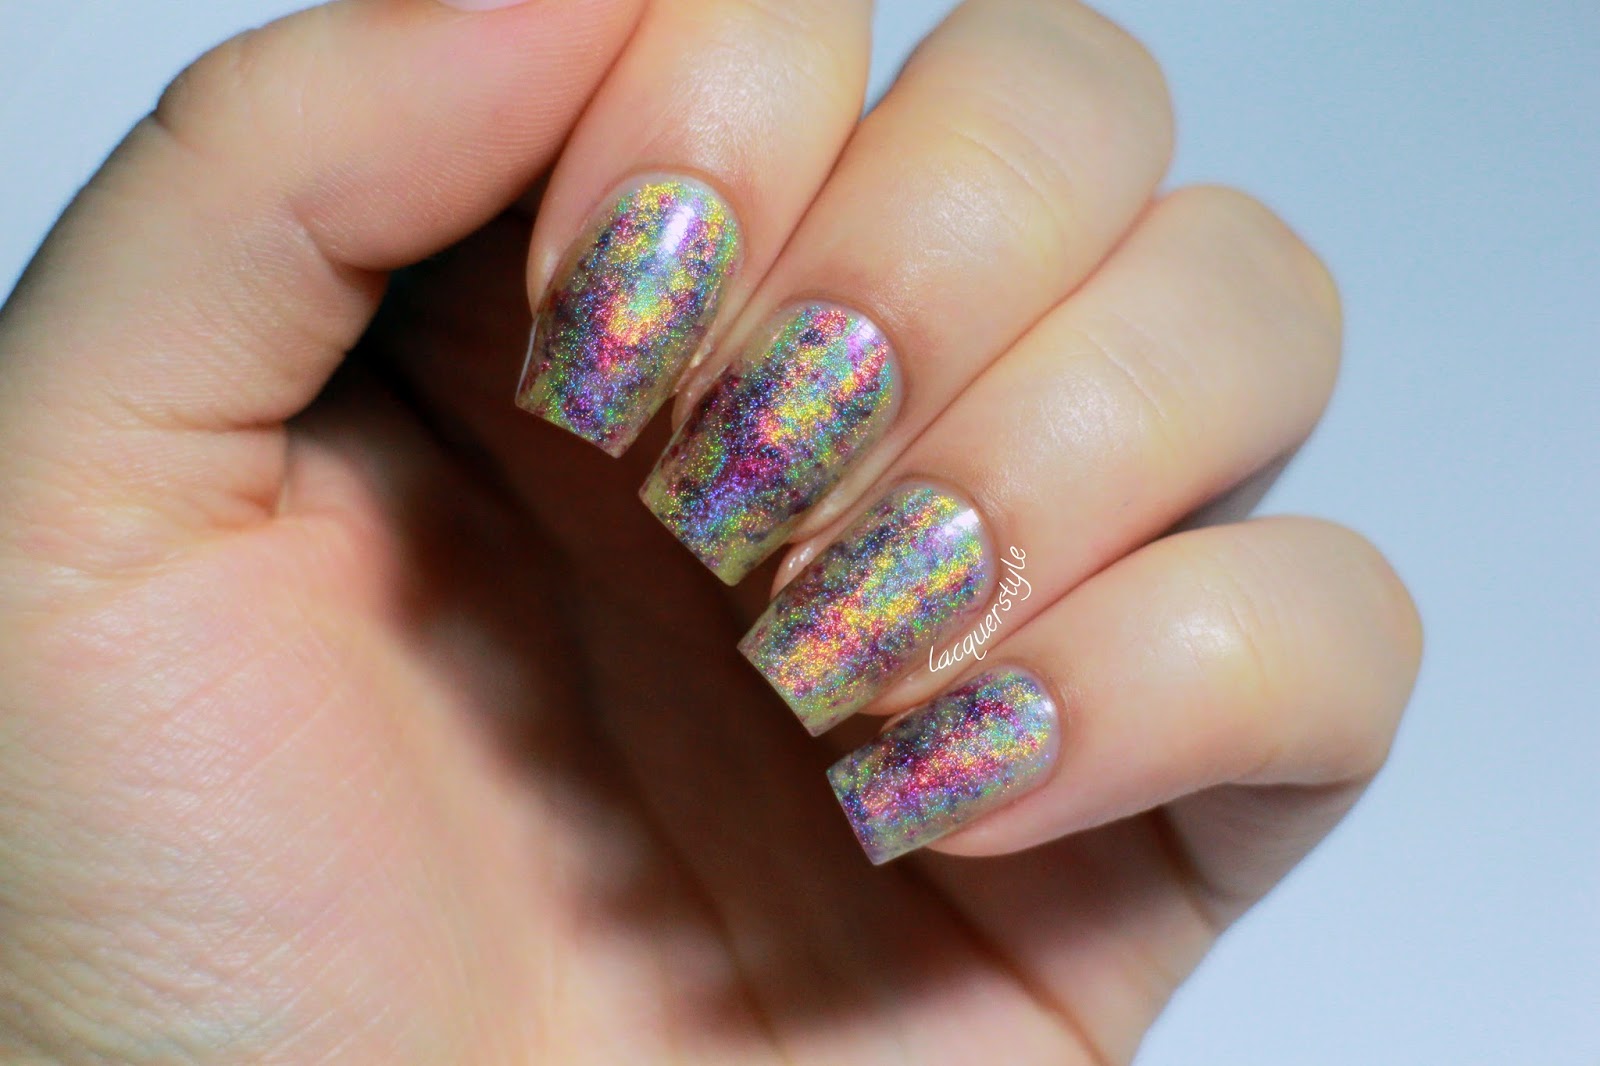
5. Repeat steps 3 and 4 as much as necessary, to achieve the desired effect.
6. If you are using a third color, repeat steps 3 and 4 in another contrasting color. I chose a darker one so that it would pop against the light base color.
7. Make sure you are happy with the effect. You may have to touch up a few spots if you feel it is not balanced enough.
8. Clean up around the cuticles with some nail polish remover.
9. Finish with a top coat.
Have fun! :)
Please let me know what other tutorials and designs you would like to see in the future!