Showing posts with label gold. Show all posts

Thursday, November 13, 2014

Tami Holographic Nail Polish - Swatches & Review

Thursday, November 13, 2014
Hello everyone!

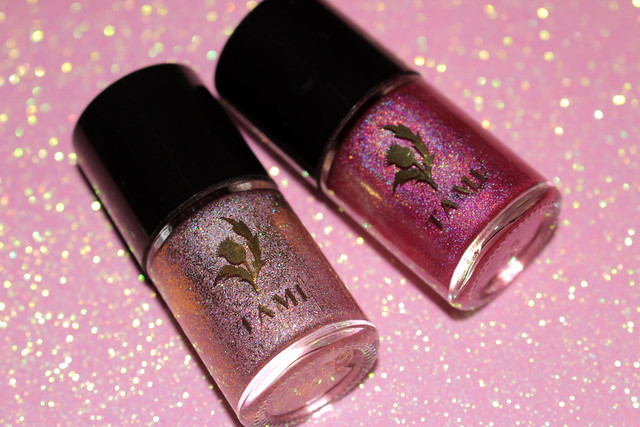
I have some gorgeous holographic polishes to share with you all today.  They are from a new brand made in Scotland called Tami, and they are part of their Scottish Showcase Collection.

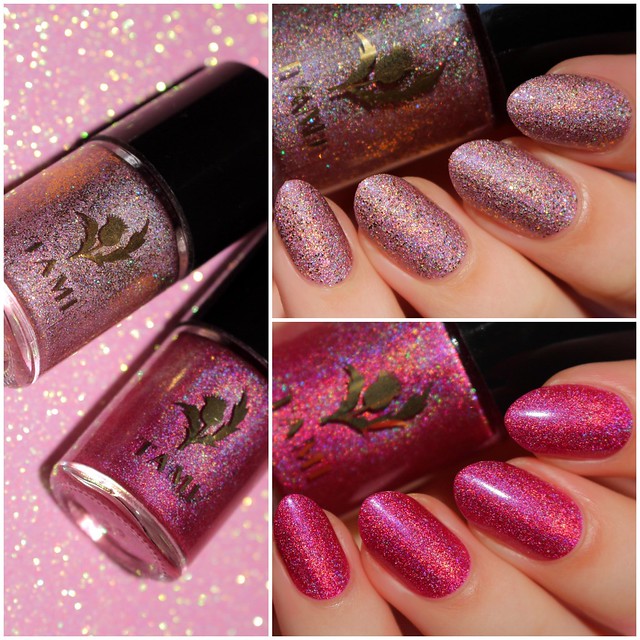
  Tami Gleneagles Glamour & Skibo Sunset

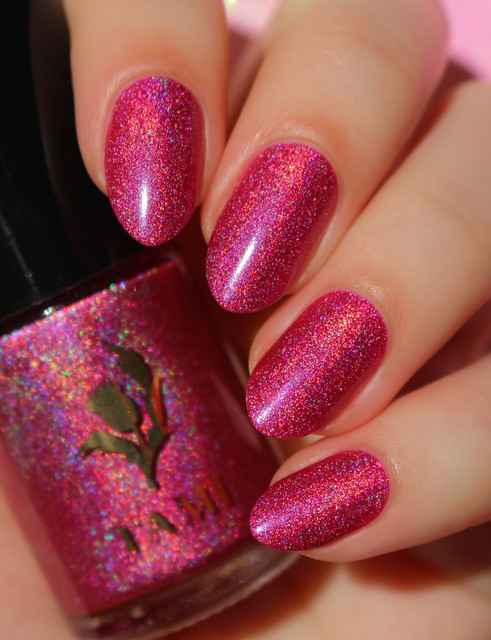
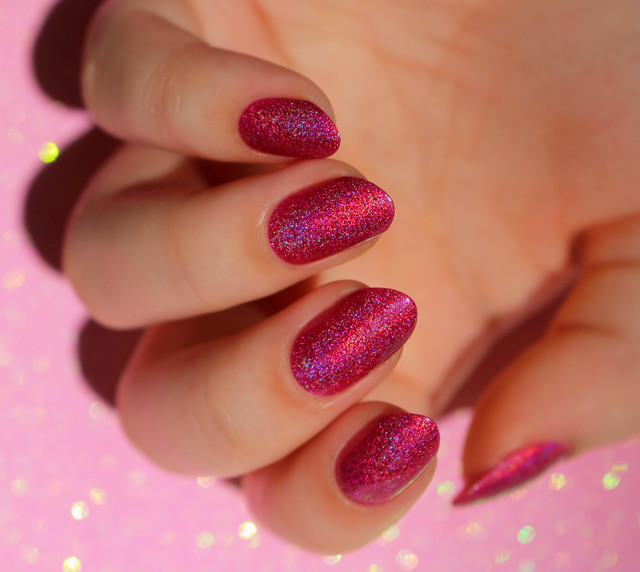
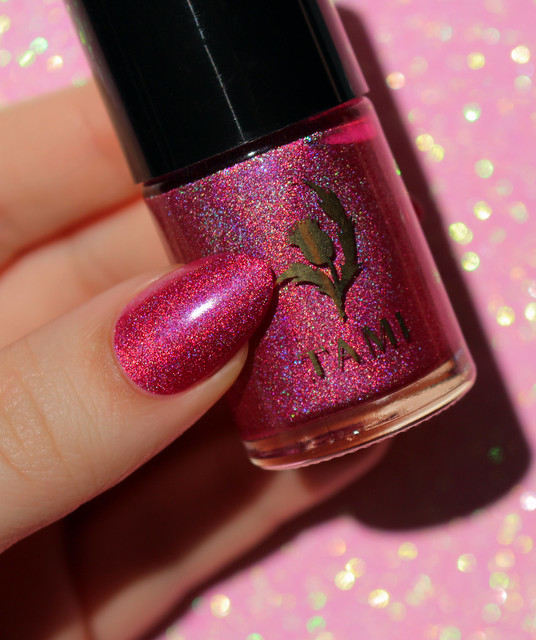
First up is Skibo Sunset, a beautiful, vibrant pink holo.  The formula was fantastic.  Two easy coats, and it dried extremely shiny with a strong holographic effect.  It's so pretty and girly.   Love!  

IMG_7130-1

IMG_7182-3

IMG_7174-1

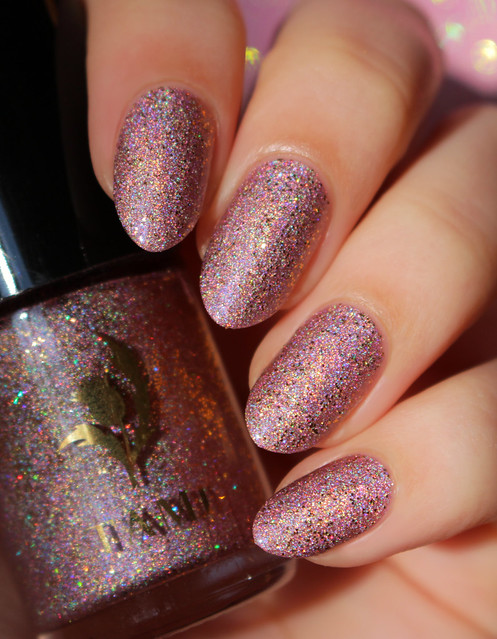
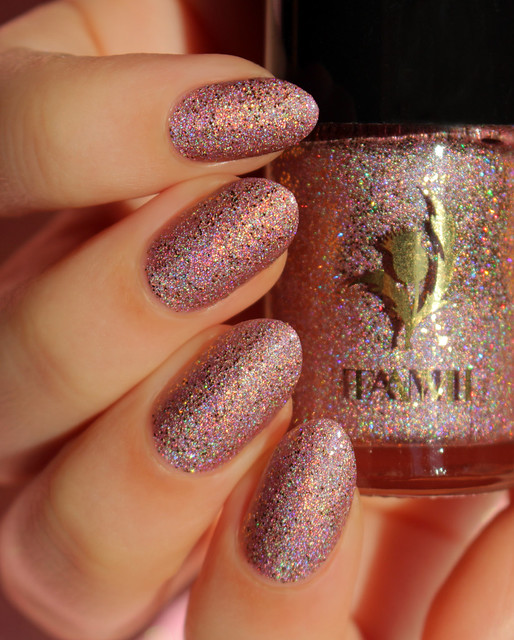
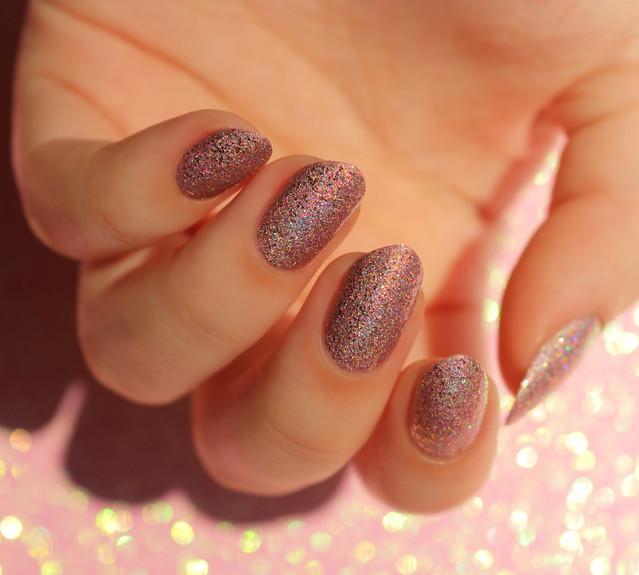
Next, we have Gleneagles Glamour, a stunning ballet pink/lavender holo that is absolutely packed with shiny gold holo glitter.  The formula is perfect on this one as well; it's nearly a one coater.  It does dry slightly textured because of the glitter, but a good top coat fixes this easily.  It's so glamorous, as the name would suggest, and looks just as beautiful indoors because of the gold glitter.

IMG_7264-1

IMG_7269-1

IMG_7294-2

IMG_7422--

Tami nail polish retails for £8.99 each (or £20.99 for the three piece Scottish Showcase Collection), and you can find them at http://tamibeauty.bigcartel.com.  They ship worldwide, which is really great too!  


Thank you for reading! :)


Kristin


Connect with me:
Instagram  |  Twitter  |  Facebook  |  Pinterest

Follow on Bloglovin


Tuesday, December 17, 2013

Glamorous Mix & Match Nails + Tutorial

Tuesday, December 17, 2013
Hello!

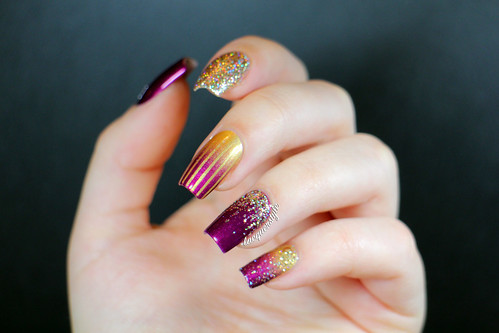
I posted these nails two weeks ago on Instagram, and I was surprised at the amazing response they received!  Originally, I wasn’t even going to post them anywhere, but I’ve had a few requests, so I decided to finally share them on my blog.  You can view the tutorial down below! :)

IMG_1972-1

IMG_3741-2
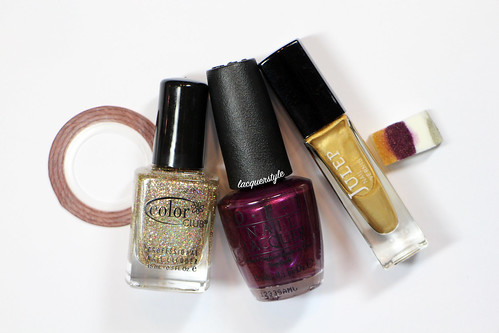
Color Club Gingerbread, OPI Diva of Geneva, Julep Felicity


View the tutorial:

Enjoy!


Please let me know if you have any other questions or requests, I would love to answer them!


Thank you for reading! :)

Kristin


Connect with me:
Instagram  |  Twitter  |  Facebook  |  Pinterest

Follow on Bloglovin


Saturday, November 23, 2013

Negative Space Rose Nails + Tutorial

Saturday, November 23, 2013
Hi everyone!  I have a quick post today, but it includes a new tutorial!

I created these negative space style rose nails for Nail It! Magazine's bridal theme that I noticed on Instagram recently.  I will be entering these nails for consideration, so I'm hoping they make it into the March/April issue.  Wish me luck! :)


I love the design I came up with; I think it looks more complicated than it actually is (quite a few people on Instagram actually thought I stamped it!), and yet it's very delicate with a bit of blind.  I think I might even have to try them in different color combinations in the near future .. Maybe a darker version!


Elevation Polish Mount Feathertop, Essie Blanc, China Glaze Angel Wings, Orly Prisma Gloss Silver, and a brush (size 10/0) I got at Michael's recently.


 And a little bonus shot:
 This was my original accent nail idea, but I ended up going with a simple gold nail instead.


Here is the video if you would like to see how I created them:


Enjoy!


Thank you for reading! :)


Kristin

Sunday, August 18, 2013

Rainbow Gradient Nails + Tutorial!

Sunday, August 18, 2013
On Instagram last week, a bunch of nail accounts (111!) joined together to create some rainbow nails as part of one big collaboration hosted by @nailslikelace.  I always love to participate in collaborations with others; it's really exciting to see so many different interpretations of a general theme.

For my rainbow nails, I decided to create a simple rainbow gradient.  This was my first time using so many colors in one gradient, but I'm very happy with how it turned out.  I figured my rainbow needed a pot of gold, so for my accent nail I used two coats of Chanel Gold Fingers, one coat of Gosh Greed, and then I placed some loose holographic gold glitter to create a glitter gradient effect.


Zoya Sooki, China Glaze Sun Worshiper, Orly Glowstick, Love & Beauty Neon Green, and Essie Avenue Maintain


I've been slacking on YouTube (I really need to get a routine going!), so I decided to film this look as well!

Here is the tutorial:


Let me know what you think, and as always, thank you for reading! :)


Kristin


Friday, July 19, 2013

Jin Soon Coral Peony + Fan Brush Nail Art

Friday, July 19, 2013
Coral Peony is my second Jin Soon nail polish (see Blue Iris here), and I am officially obsessed.  They are quite expensive which is annoying, but the two I have tried so far have the most gorgeous jelly finish and I love everything about them.  The bottle is so sleek and adorable, and the brush is to die for (it's not as wide as OPI's, but flatter and wider than Chanel's).  It makes polishing the nails quick and effortless.  From my experience, they have great lasting power as well.  The photos below were actually taken on day three of wear.


Coral Peony is a darker coral, but still very bright in certain lighting, probably due to the jelly finish.  It leans slightly more red on me in most lighting, but it still has a good amount of pink in it to keep it looking coral.  It glides on without any streakiness, dries very fast, and is opaque in two coats.


My accent nail is one coat of CND Gold Chrome and one coat of piCture pOlish Majesty on top.  Perfection.


I have actually been wearing Coral Peony for four or five days now and it needed a bit of refreshing (I don't think the Dior top coat I used was a good match).  My new set of nail art brushes arrived recently, and a few people on Instagram wanted to see a look using the fan brush.  I did one layer with CND Gold Chrome, and then I added a light layer of Layla Gold Idol on top to play off of Majesty which has some amazing holographic shimmer in it.  I just love pairing coral with gold, and I am really happy with this look!


Coral is one of those colors that I never get tired of.  It always looks so elegant and flattering, yet it's still a bright, happy color that I especially love in the summer months.


Thank you for reading! :)


Kristin


Saturday, June 08, 2013

Turquoise Stone Nails + Tutorial!

Saturday, June 08, 2013
These turquoise stone nails have been quite a trend lately.  I had seen a couple people try this technique, and was inspired, but I wanted to put my own style on it.

Here is my finished look:


Now, here is the tutorial to get this look:


I tried to make the steps as clear as possible, but as always, if you have any questions please let me know.  And, feel free to send me your results, I would love to see them! :)

1. Gather your supplies and prep your nails. I used CND Stickey, Essie Where's My Chauffeur?, CND Blackjack and Gold Chrome, a piece of plastic wrap (bunched into a ball), a few toothpicks, Scotch tape, hairspray, a paper towel, a cup of luke warm (tap) water, and a piece of paper.

2. Paint two coats of your base colour. In this case, to make them look like turquoise stones, I chose the Essie's Where's My Chauffeur?. Make sure your base colour is completely dry, or use a quick dry top coat before moving to the next step.

3. Tape off your cuticle and sides of your fingers with some scotch tape.

4. Work quickly with the next few steps! Place a few drops of gold polish on a piece of paper. Dip the plastic wrap into the polish, and dab it a few times on the paper before applying it to your nails.

5. Immediately "sponge" the gold polish on your nails in a few random spots. I did this very lightly, to make it look like subtle veins of gold.

6. With a cup of luke warm water, place one drop of black polish into the water. I only used one drop of polish so the black would be quite light and veiny. As it is spreading, spray some hairspray on it. This is the most difficult part, as you may have to repeat this step a few times to get it to look right.

7. I wanted the "veins" to be quite spread out on the nail. If the spots are too close together in the water, you will have too much black on the nail, so if it does not look right in the water, just take a toothpick to remove the polish and try again.

8. Quickly dip your finger into the water, positioned where you want it, and use a toothpick to grab the leftover polish on the surface of the water before removing your nail.

9. Remove the tape. Wait a while before applying top coat so you do not smudge the black lines. Finally, finish with a top coat.

Have fun! :)


Kristin

Lacquerstyle.com © 2014